This is 4th post in the series about my experience with Wyam. This post will explain how to add some dynamic functionality to static website using Azure Functions. While writing this blog post I realized that it's too long, so I decided to split it to 2 parts. And the first part is focused on implementation of Azure Function.
I was trying to solve following problem. I wanted to have a Contact page on my website, where users can send me a message. The Contact page should contain a form for user to enter contact information, subject and message. Then the user can submit the form and I should receive the message via email.
Email service
First problem to solve is how to send an email. There is SendGrid service that provides functionality to send emails. It offers lot of advanced features like templating, sending newsletters or notification emails. And there is also free model that is sufficient for me, becuase I don't expect to handle more than 10 emails per month.
The service can be activated directly from Azure Portal.
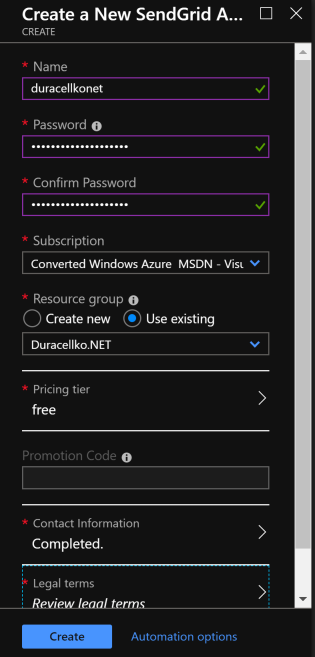
- In Azure Portal create new resource and in Marketplace search for SendGrid.
- Click Create SendGrid resource.
- Enter information like service name, resource group, pricing tier.
- After the SendGrid resource is created, click Manage link. SendGrid portal will be opened.
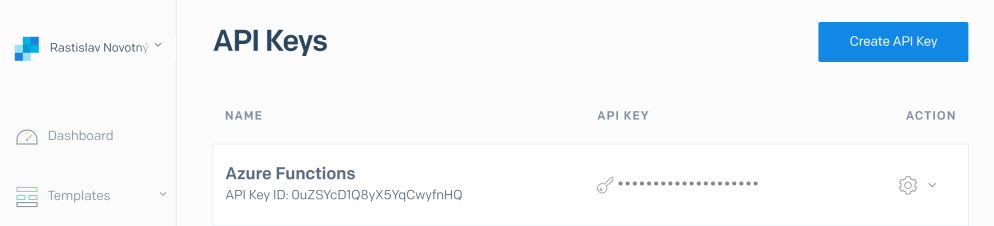
- Open Settings and then API Keys.
- Click Create API Key.
- Select Restricted access and then grant permission to Mail Send.
- Create the API key and take a note of it. Be aware, that the API key cannot be retrieved later.
Now SendGrid service is setup to send emails.
Azure Function
Next step is to create a web API that can be called from JavaScript in the static website. Functionality of the API is very simple, just sending email using SendGrid service. And Azure Functions seems to be perfect technology to do the job.
- It offers free hosting. I do not expect many emails per month, so it should easily fit into free hosting.
- It provides HTTPS protocol without any additional setup.
- It offers very simple implementation without any infrastructure code.
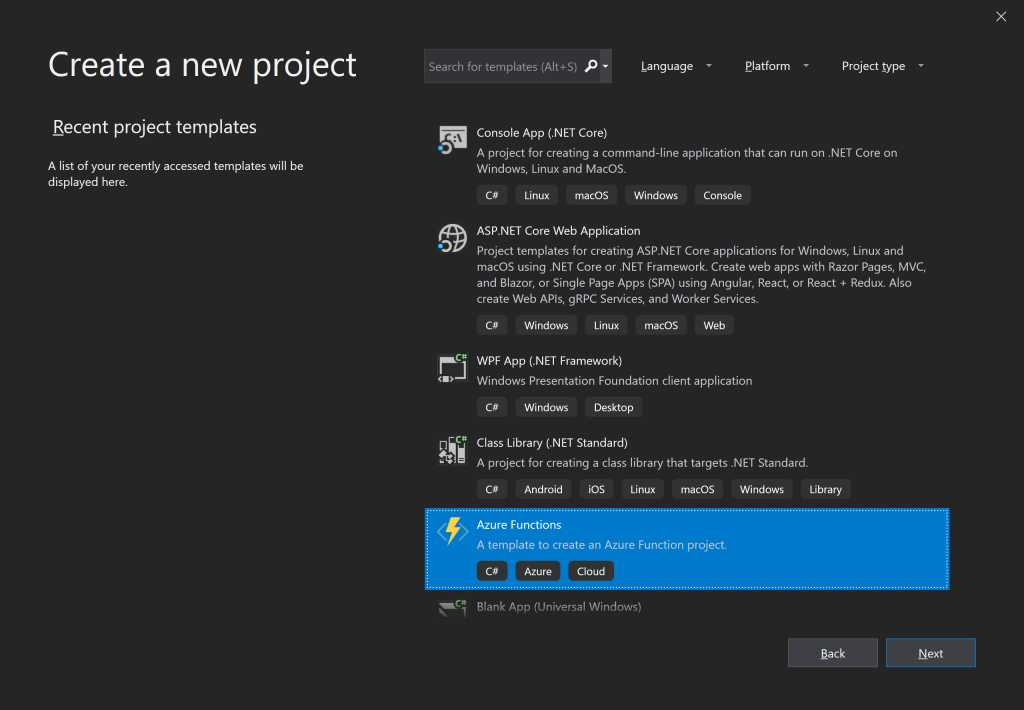
This function can be developed in Visual Studio 2019.
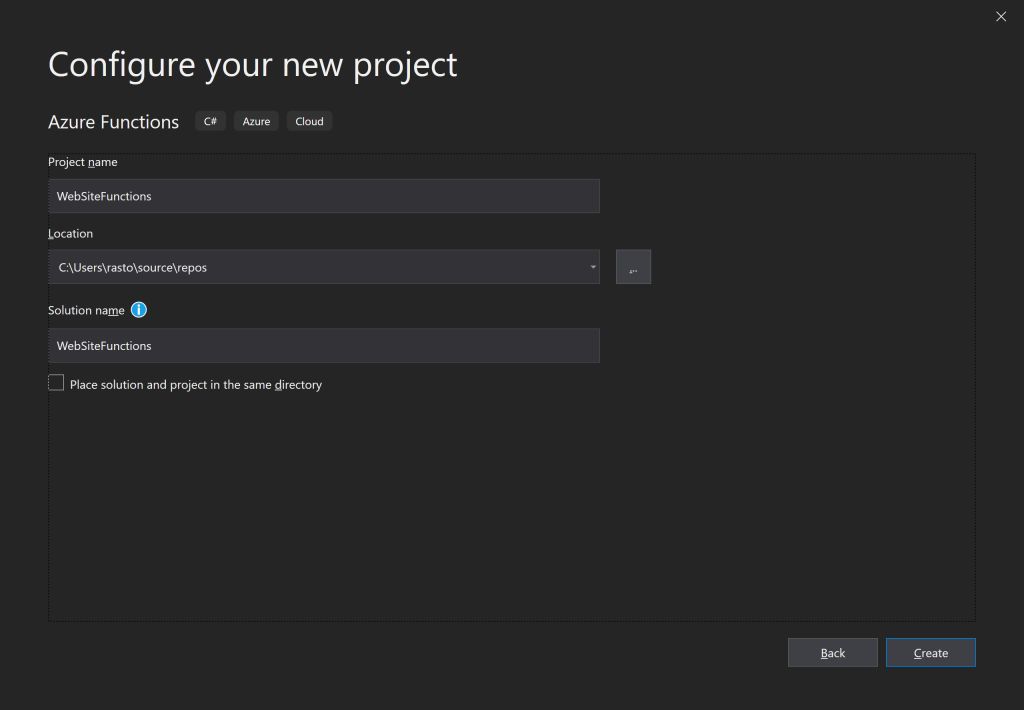
- Create new Azure Functions project in Visual Studio.
- Enter project name.
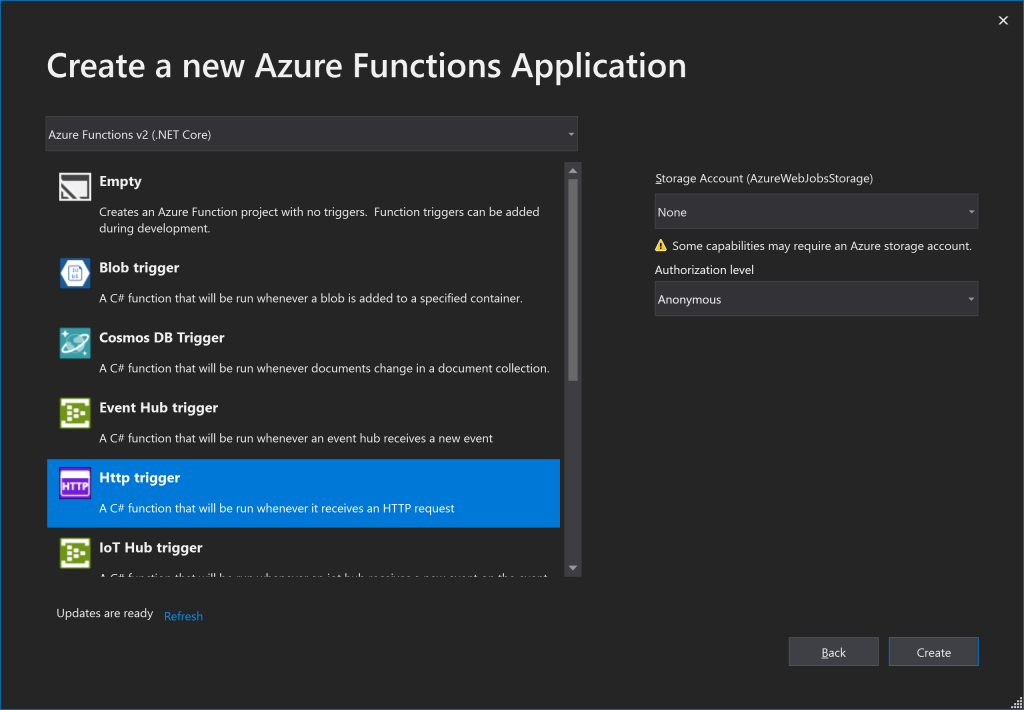
- On the next screen select:
- Azure Functions v2 (.NET Core)
- Http trigger
- Storage account: None
- Authorization level: Anonymous - Any visitor of the website can execute the function.
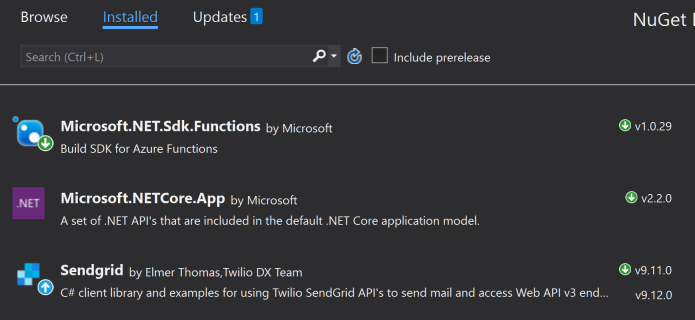
- Install SendGrid package to the project. From menu select Project and then Package Manager. Find SendGrid package and install it.
Now it is time to implement SendEmail function in static method.
public static class SendEmail
{
    [FunctionName("SendEmail")]
    public static async Task<IActionResult> Run(
        [HttpTrigger(AuthorizationLevel.Anonymous, "POST")] HttpRequest request,
        ILogger log,
        CancellationToken cancellationToken)
    {
        log.LogInformation("SendEmail requested.");

        if (request.Body == null)
        {
            log.LogWarning("SendEmail without HTTP request body.");
            return new BadRequestObjectResult("Expecting email data in the request body.");
        }

        EmailData emailData = null;
        var serializer = JsonSerializer.Create();
        using (var reader = new StreamReader(request.Body, Encoding.UTF8))
        {
            emailData = (EmailData)serializer.Deserialize(reader, typeof(EmailData));
        }

        if (!ValidateEmailData(emailData))
        {
            log.LogError("Send email failed: missing email data.");
            return new BadRequestObjectResult("Missing email data: sender name, address, subject, or message.");
        }

        await SendGridEmail(emailData, cancellationToken);

        log.LogInformation("Email sent successfully from '{SenderName}'<{SenderEmail}>.", emailData.SenderName, emailData.SenderEmail);
        return new OkObjectResult("Email sent successfully.");
    }
}
Previous method takes content of HttpRequest and tries to convert it from JSON to a data object (EmailData class). Then the object is validated. If it is valid, email is sent and success result is returned. Notice that the function uses logging framework to log information messages. This is very useful to investigate issues with functions.
EmailData class is very simple and contains only data that should be entered by a user.
public class EmailData
{
    [JsonProperty("senderEmail")]
    public string SenderEmail { get; set; }

    [JsonProperty("senderName")]
    public string SenderName { get; set; }

    [JsonProperty("subject")]
    public string Subject { get; set; }

    [JsonProperty("message")]
    public string Message { get; set; }
}
SendGridEmail method simply configures SendGridClient and sends a new email. Notice that email is configured from environment variables. There are 2 configuration variables:
- SENDGRID_APIKEY: API key retreived, when setting up SendGrid account.
- SENDGRID_RECIPIENT: Your email address that should receive emails from users.
private static Task SendGridEmail(EmailData emailData, CancellationToken cancellationToken)
{
    var settingApiKey = Environment.GetEnvironmentVariable("SENDGRID_APIKEY");
    var settingRecipient = Environment.GetEnvironmentVariable("SENDGRID_RECIPIENT");

    var email = new SendGridMessage();
    email.From = new EmailAddress(emailData.SenderEmail, emailData.SenderName);
    email.AddTo(settingRecipient);
    email.Subject = emailData.Subject.Normalize(NormalizationForm.FormKD);
    var message = string.Format(Resources.EmailMessage, emailData.SenderName, emailData.SenderEmail, emailData.Message);
    email.PlainTextContent = message.Normalize(NormalizationForm.FormKD);

    var client = new SendGridClient(settingApiKey);
    return client.SendEmailAsync(email, cancellationToken);
}
Notice that email subject and content are normalized to Unicode form for compatibility decomposition. This way SendGrid service can handle special characters properly. I tested it only with characters used in central Europe. I don't know if Chinese characters are handled properly.
And last piece of the code is validation method. For now the method is very simple and it validates that all data are entered and email address has correct format.
private static bool ValidateEmailData(EmailData emailData)
{
    if (emailData == null)
    {
        return false;
    }

    if (string.IsNullOrWhiteSpace(emailData.SenderName) ||
        string.IsNullOrWhiteSpace(emailData.SenderEmail) ||
        string.IsNullOrWhiteSpace(emailData.Subject) ||
        string.IsNullOrWhiteSpace(emailData.Message))
    {
        return false;
    }

    try
    {
        var mailAddress = new MailAddress(emailData.SenderEmail, emailData.SenderName);
    }
    catch (FormatException)
    {
        return false;
    }

    return true;
}
This is all the code needed to send email using Azure Function. Simple function needs just simple code.
Local testing
Now let's test it out. Before running the function it's necessary to provide configuration. Specifically to setup values of 2 environment variables: SENDGRID_APIKEY and SENDGRID_RECIPIENT
This can be done by setting the values in local.settings.json file. Then the file may look like this:
{
  "IsEncrypted": false,
  "Values": {
    "FUNCTIONS_WORKER_RUNTIME": "dotnet",
    "SENDGRID_APIKEY": "Your API key for SendGrid account.",
    "SENDGRID_RECIPIENT": "Your email address."
  }
}
IMPORTANT! Never commit this change to your repository. API key is secret and should be treated that way.
Now simply hit F5 to run the function. When application starts, Windows may ask you to allow firewall rule for the application. You don't need to allow the rule, because it will be tested only locally.
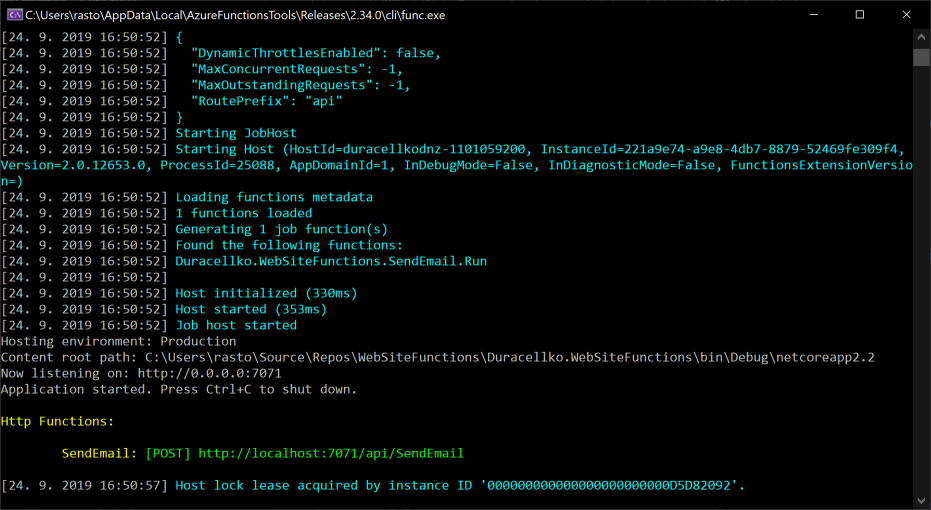
And now execute following commands in PowerShell. I used PowerShell Core, but it should work in PowerShell 5 too.
$uri = 'http://localhost:7071/api/SendEmail'
$data = @{ senderEmail = 'me@test.com'; senderName = 'Duracellko.NET' }
$data.subject = 'Test email'
$data.message = 'Azure Functions are cool!'
$json = $data | ConvertTo-Json
Invoke-RestMethod -Uri $uri -Method Post -Body $json
You should see "Email sent successfully." message. And after some time you should receive the test email. It may end up in your junk mailbox, so check it out to.
Summary
In this part we setup SendGrid account and implemented Azure Function to send emails. You can find full Azure Function implementation in Azure DevOps repository. In next post we will deploy the Azure Function and create Contact form in static website.